- All
- Product Name
- Product Keyword
- Product Model
- Product Summary
- Product Description
- Multi Field Search
Views: 0 Author: Site Editor Publish Time: 2026-08-17 Origin: Site


I still remember the first time a customer sent back a batch of precision shafts, claiming they were "perfectly round" but "completely unusable." When I asked what was wrong, he measured the diameter at both ends and showed me a 0.08mm difference across a 200mm length. The parts were perfectly round — but tapered. Taper errors are arguably the most frustrating defect in CNC turning. Unlike surface finish issues you can see or chatter marks you can hear, taper hides inside your CMM data until it's too late. Over the past 15 years, our service team has diagnosed and fixed taper problems on hundreds of machines — from small CK6 series horizontal lathes to large CK5 series vertical lathes. And I can tell you, the root cause is almost never what the operator suspects. Here are the 5 causes we encounter most often, ranked by how frequently they show up in our service logs.
If your parts are turned between centers and you see a consistent taper — larger at the tailstock end, smaller at the headstock end — the tailstock is almost certainly off-axis. This is the single most common cause we find, and it accounts for roughly 40% of all taper complaints we receive. The problem is mechanical, not programmatic. The tailstock quill needs to be perfectly aligned with the spindle centerline, and even a tiny deviation creates a conical cutting path. On a 300mm part length, just 0.02mm of tailstock offset produces a 0.04mm diameter difference. How to diagnose it: Turn a test bar between centers — at least 300mm long, 30-40mm diameter. Measure the diameter at both ends with a micrometer. If there's a consistent taper (one end larger, one end smaller, across the full length), that's your tailstock. The fix: Most horizontal lathes have tailstock adjustment screws on the base. Loosen the clamp bolts, adjust the lateral position in tiny increments (0.005mm at a time), and re-test. On our CK6163 and CK6180 models, we specify tailstock alignment within 0.02mm over 300mm. If your machine can't hold that, it's time to check the tailstock base for wear or debris. One customer in Turkey was fighting a 0.06mm taper on 400mm shafts for weeks. They'd adjusted their program, changed inserts, even suspected the spindle. We asked them to send photos of the tailstock base. There was a 0.3mm chip of swarf stuck under the tailstock foot. Cleaned it out, re-aligned, and the taper dropped to 0.01mm. Sometimes the answer is embarrassingly simple.
This one shows up gradually. Your machine used to hold tight tolerances, but over time you're noticing a slight taper that gets worse as the tool moves further from the chuck. The carriage is riding on worn ways or loose gibs, and under cutting forces, it deflects away from the workpiece. The key diagnostic sign: the taper correlates with the tool's Z-axis position. When the tool is near the chuck, dimensions are fine. As it moves toward the tailstock end, the diameter grows (or shrinks, depending on the direction of wear). How to check: Place a dial indicator on the carriage, zero it against a fixed reference point, then manually traverse the full Z-axis travel. Any deviation beyond 0.02mm over 500mm suggests way wear or gib issues. Also check for backlash in the Z-axis ball screw — though that usually causes diameter inconsistency rather than a clean taper. What we've seen in the field: A workshop in Vietnam had two CK6150 machines side by side. The newer one held 0.01mm tolerance consistently. The older one (6 years, 8 hours/day) was drifting to 0.04mm. We measured the X-axis way clearance at 0.08mm — well beyond the 0.03mm spec. Re-gibbing the ways and scraping the contact surfaces brought it back to 0.015mm. For machines with 10,000+ hours, way wear is inevitable. The real question is whether to re-scrape the ways (expensive, 1-2 weeks downtime) or switch to a machine with linear guides (which don't wear in the same way). On newer CNC horizontal lathes with linear guideways, this problem is far less common — though not impossible.
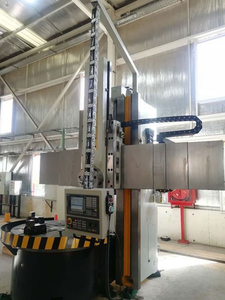
This is the one that drives people crazy because the taper appears and disappears without any obvious change. Your morning parts are within tolerance. After lunch, the same program produces parts with a 0.02-0.05mm taper. By evening, it's back to normal. What's happening: the machine is heating up unevenly. The spindle generates heat during operation, and thermal expansion pushes the spindle centerline slightly — usually upward and toward the operator side on horizontal lathes. On vertical lathes, the column heats up and leans. Either way, the tool tip position shifts relative to the workpiece, creating a taper that changes with time. The data: We instrumented one of our CK5-1250 vertical turning centers with temperature sensors and ran it for 8 hours. The column grew 0.04mm in the first 90 minutes, then stabilized. During that warmup period, the taper on a 600mm bore went from 0.01mm to 0.05mm. After 2 hours of warmup, it stayed within 0.015mm for the rest of the shift. The fix is simple but boring: warm up the machine properly before precision work. Run the spindle at 30% speed for 10 minutes, then 50% for 5 minutes, then 70% for 5 minutes. This brings the thermal growth to near-stable levels before you start cutting critical parts. Some machines have thermal compensation built into the control — if yours does, make sure it's enabled and calibrated. A customer in the Middle East was running their machines 24/7 in 45°C ambient temperature. Their taper problems got significantly worse in summer. We recommended they install an air conditioning unit in the machine area and run warmup cycles after every tool change longer than 30 minutes. Problem solved.
Sometimes the machine is perfectly fine, but the workpiece bends under cutting forces. This is especially common with long, thin shafts on horizontal lathes. The part acts like a diving board — the cutting force pushes it away from the tool, and the result is a taper that's largest in the middle and smaller at both ends (or vice versa, depending on the cutting direction). The telltale sign: the taper profile isn't linear. It's more like a barrel or saddle shape. Measure the diameter at three points — headstock end, middle, and tailstock end. If the middle is different from both ends, you're looking at deflection, not alignment. How to fix it: Reduce the depth of cut on the final pass, use a sharper insert to lower cutting forces, or add intermediate support. A steady rest or follow rest can dramatically reduce deflection on slender parts. We specify a follow rest for any part with an L/D ratio above 8:1. We once had a customer in Brazil making 1200mm long, 40mm diameter shafts. They were seeing a 0.12mm taper — 0.06mm at the midpoint. The machine checked out fine. The fix was a combination of: reducing finishing pass depth from 0.3mm to 0.1mm, switching to a sharper insert grade, and adding a follow rest. Taper dropped to 0.02mm.
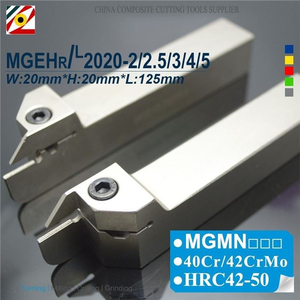
This is the cause that gets the least attention but shows up more often than you'd think. If your tool holder has excess overhang, or the insert isn't sitting at the correct center height, the effective cutting geometry changes as the tool wears — and that changing geometry produces a taper over the length of the part. The issue is subtle. As the insert wears, the actual cutting point moves slightly (usually downward on horizontal lathes). This changes the effective diameter being cut, and because the wear happens gradually, it creates a slow drift — which looks exactly like a taper. How to check: Run a finishing pass on a known-good test bar. Then let the machine run for 50 parts without changing the insert. Run another finishing pass. Compare the two. If the second pass shows a measurable drift, your tool wear is affecting part geometry. Quick fixes: Reduce tool overhang to the minimum needed. Verify insert center height — on most horizontal lathes, it should be exactly at the spindle centerline, ±0.05mm. Use consistent insert grades and replace on a schedule rather than waiting for failure. We had a customer in Indonesia who was blaming the machine for taper errors on every batch. When our engineer visited, the first thing he noticed was a 120mm tool overhang on the OD turning tool — twice what was needed. He shortened it to 60mm and the taper dropped from 0.05mm to 0.01mm. The lesson: always start with the simplest variables before pointing fingers at the machine.
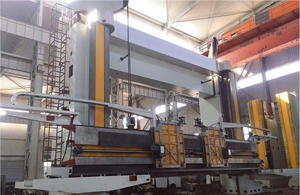
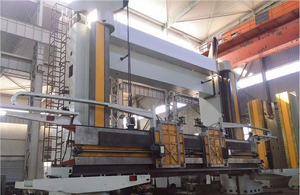
When you encounter a taper problem, here's the order I'd suggest checking: First, verify the taper pattern. Is it linear (tailstock issue), barrel-shaped (deflection), or time-dependent (thermal)? This single observation eliminates 60% of the possibilities. Second, check the simplest things first. Chip under the tailstock. Tool overhang. Insert center height. Warm-up status. These five-minute checks solve the majority of taper complaints. Third, if the problem persists, move to mechanical checks. Tailstock alignment. Way/gib clearance. Ball screw backlash. These require more time but address the most common structural causes. The machines we build — both vertical lathes and horizontal models — are designed with tight geometric tolerances. But no machine is immune to the factors above. Understanding which one is affecting your parts is half the battle.